Meats and Sausages

Assembling Ives-Way Can Sealer
Setting Up and Operation
The sealer comes with a few seaming chucks and the detached crank and lever. Assembling instructions:
- Locking lever
- Crank
- Chuck
- Adjust seaming rollers
- Turntable and spacers
- Lubrication
- Inspecting closed cans and testing for leaks
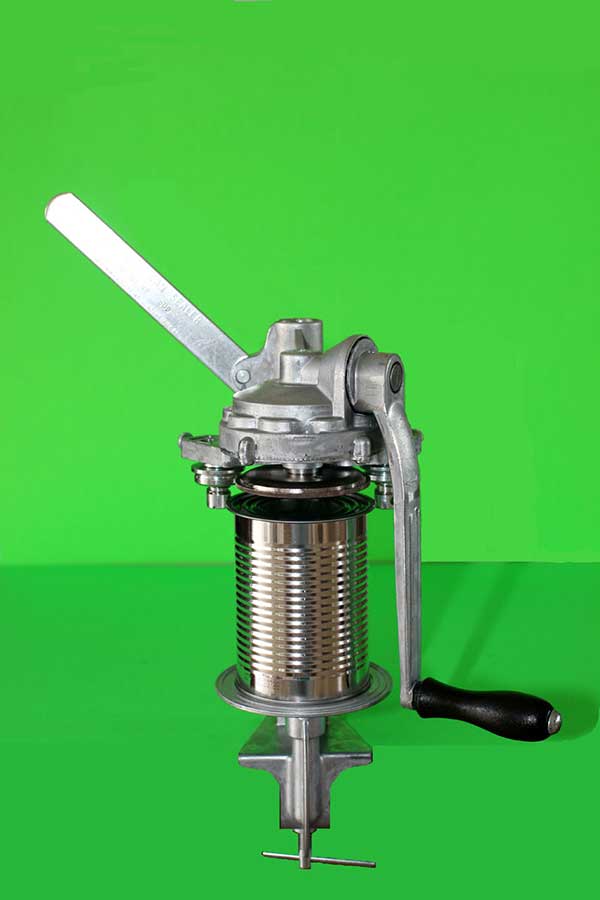
Ives-Way 800 sealer.
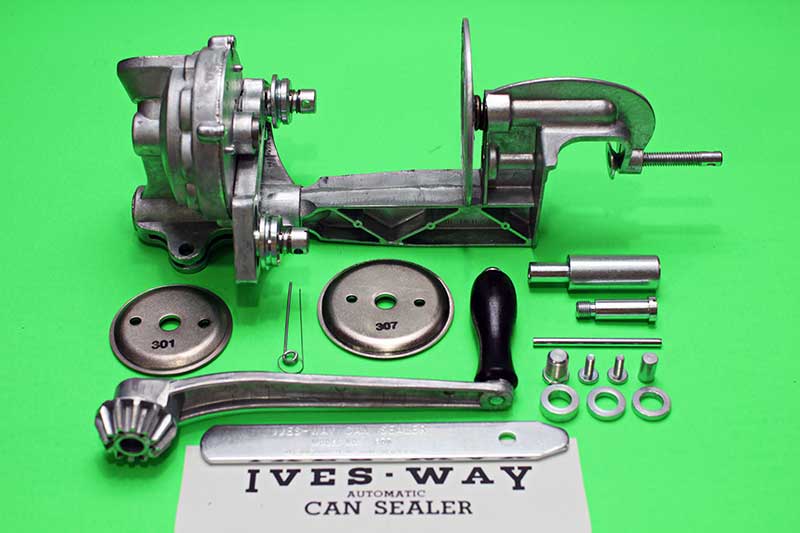
This is how Ives-Way 800 is packed; 301 and 307 chucks, spacers, set up gauges and the manual.
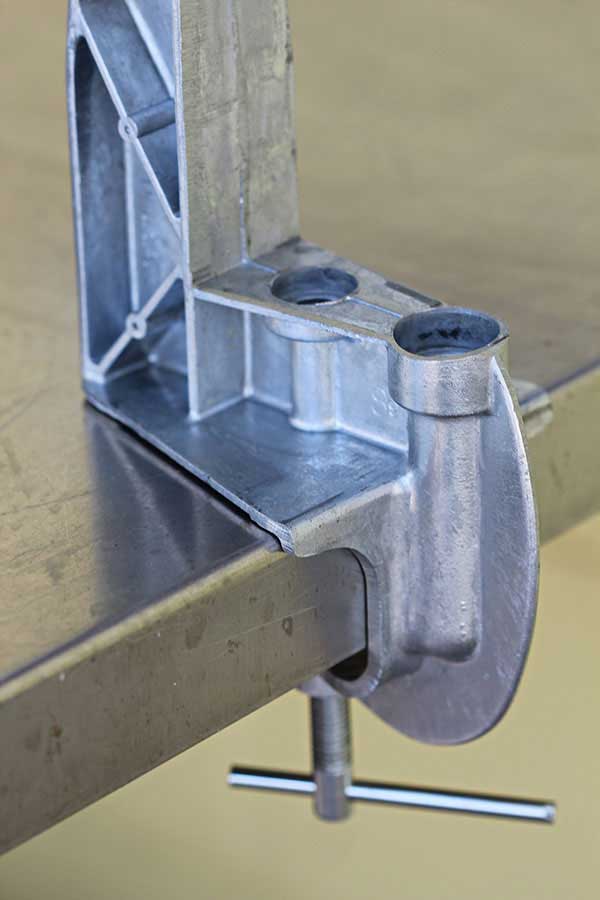
Clamp the sealer to a table or any suitable surface using the pin to tighten the clamp screw. The clamp is the lower part of the frame. Do not overtighten this screw or use an extension on the end of the pin to gain more leverage. A moderate amount of force on the pin furnished is sufficient to secure the sealer to the table.
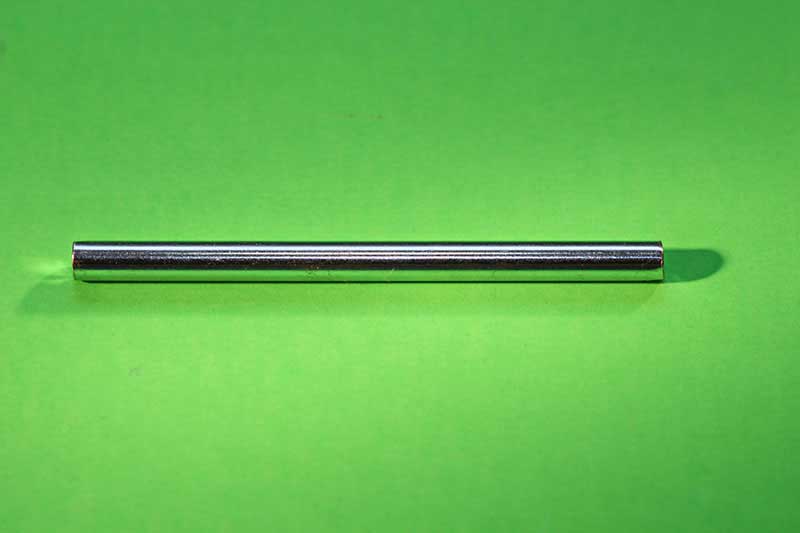
This removable pin is used for many adjustments.
The sealer comes with the head and rollers attached to the frame post. The head can be easily slid off the post, what some people do for curiosity. Remember to drop the head back on the post of the frame, before installing the locking lever, otherwise the the sealer will not operate properly.
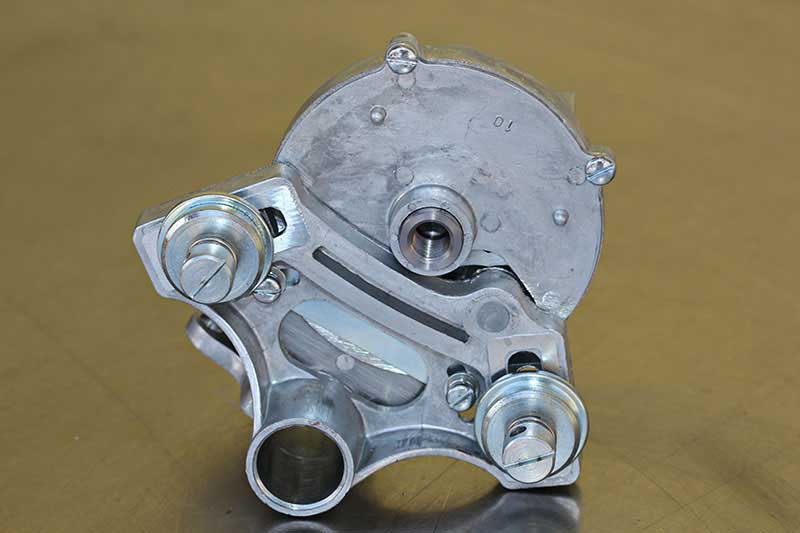
Bottom view of the head that was removed from the post.
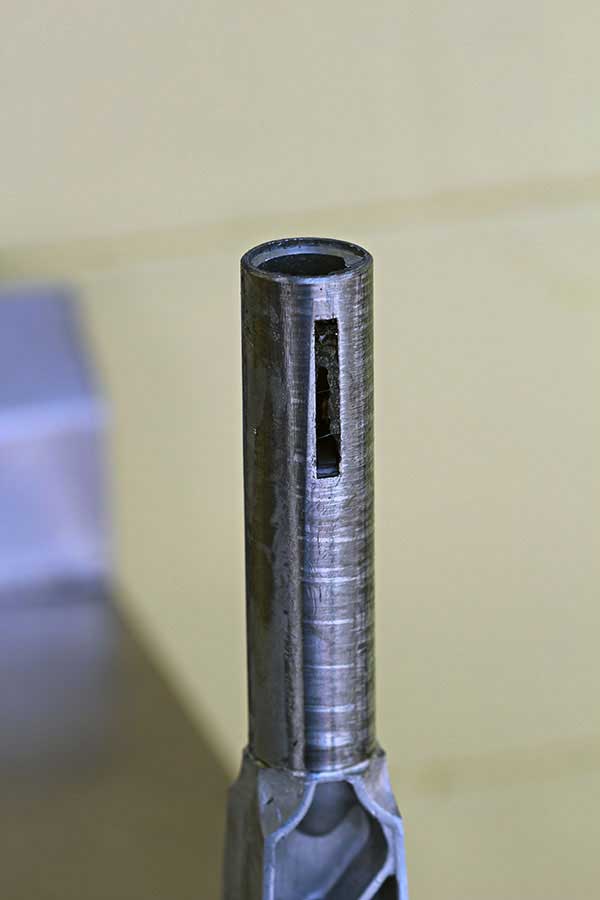
The post without the head.
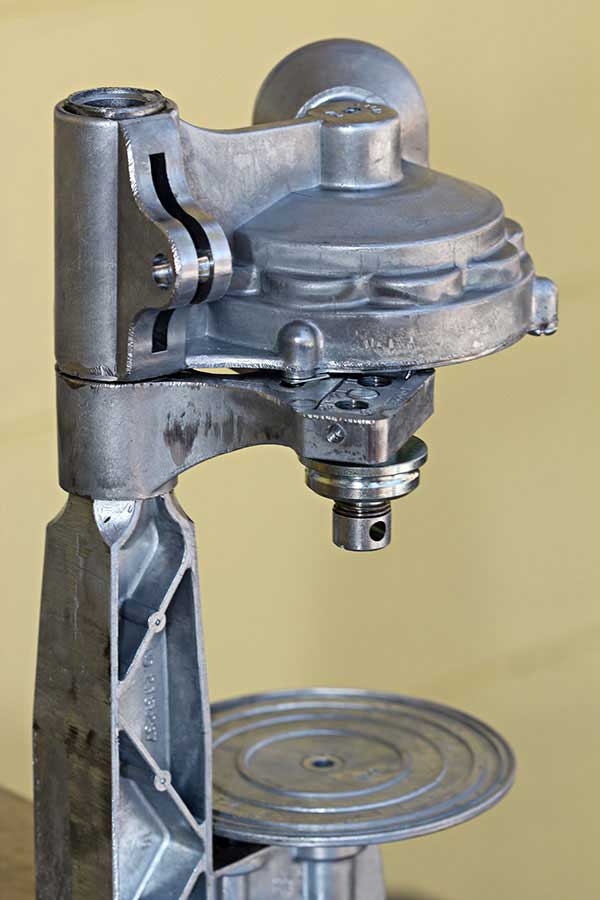
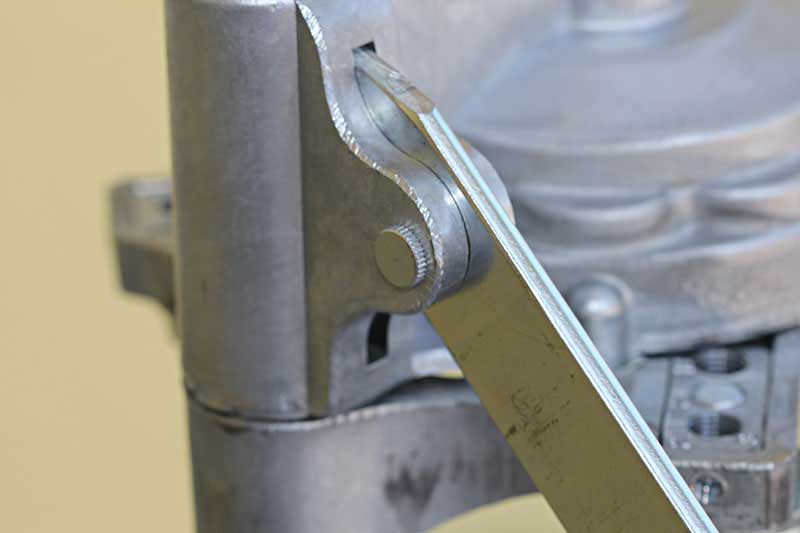
Head attached to frame post. The locking lever will fit into the slot. Notice that there is a slot both in the head and in the post of the frame.
The hand lever is used for raising and lowering the head and should be inserted into the slot.
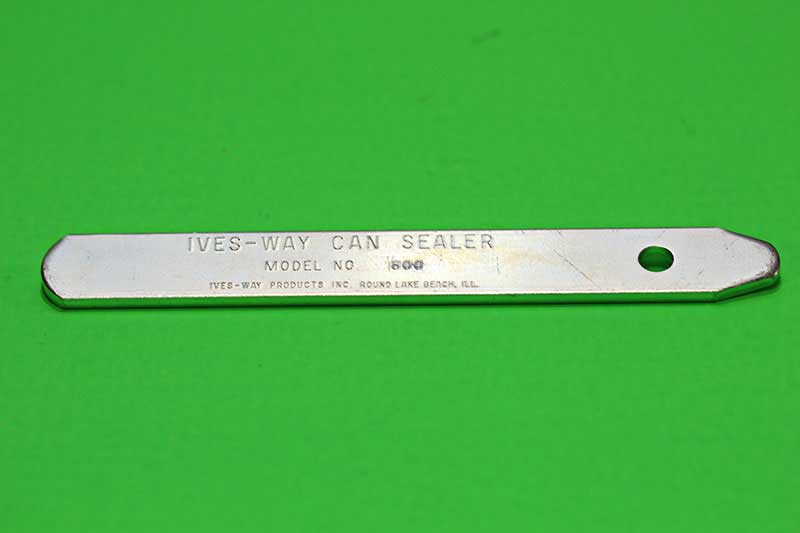
Locking lever.
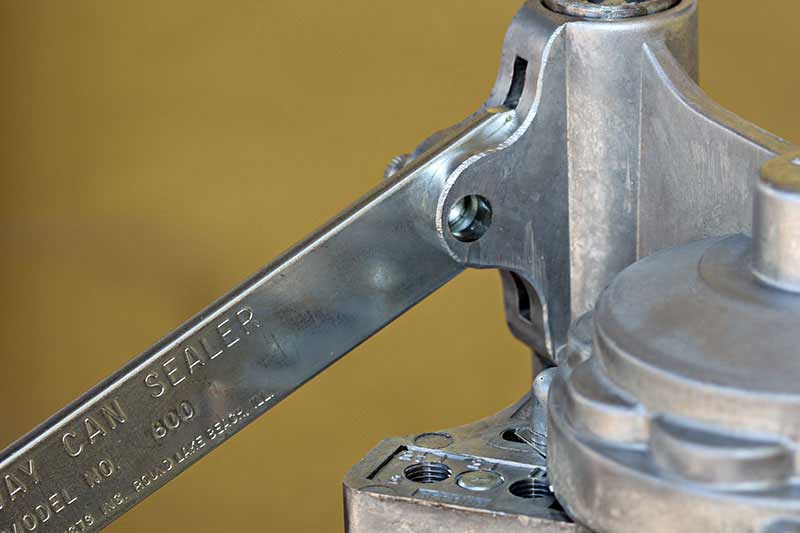
Lever inserted into the slot of the post. The lever should project through the head and enter the slot in the frame post.
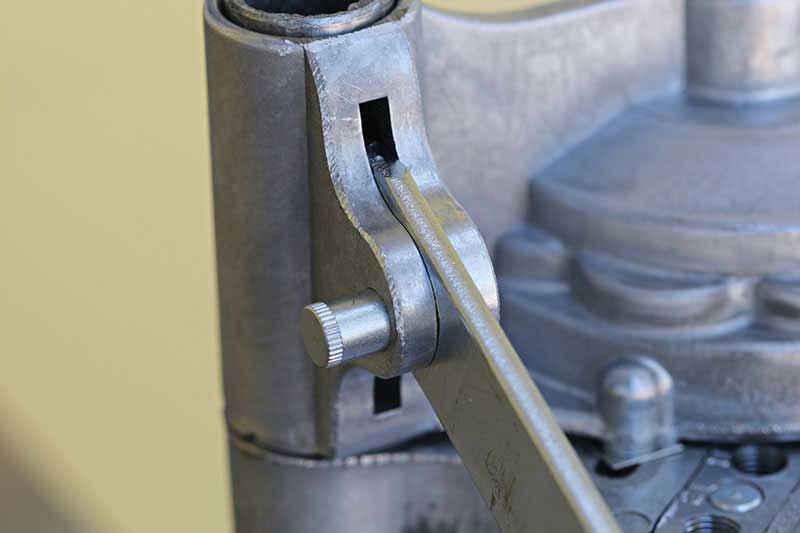
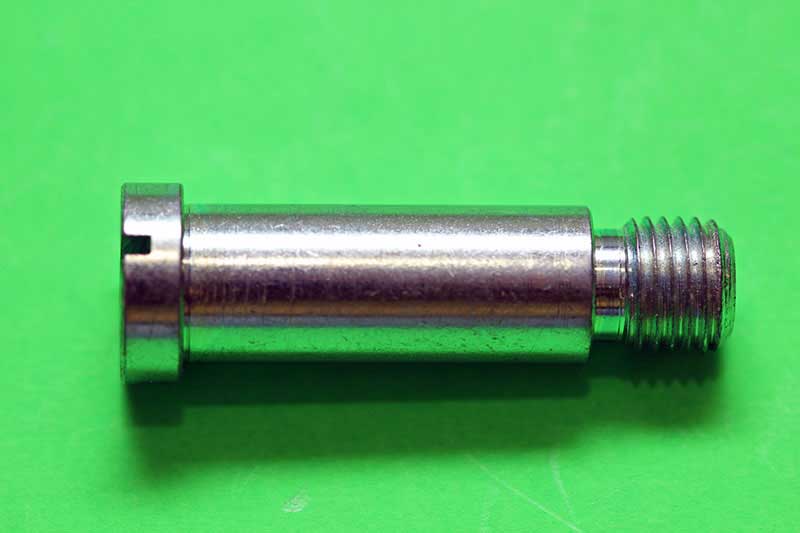
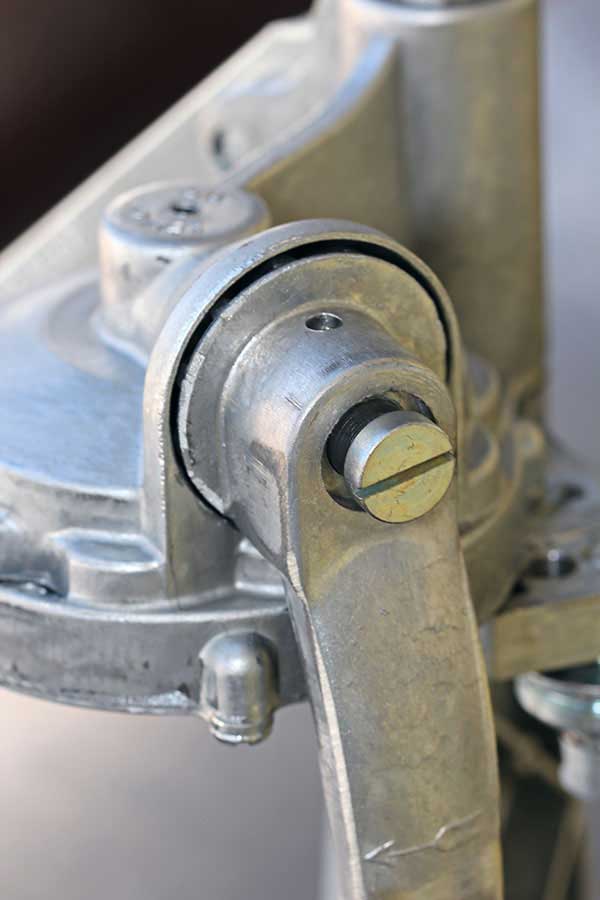
Check the alignment of the holes in the lever and the head and insert the lever pivot from the back, with the knurled side of the pivot out. Tap the pivot in all the way with a hammer, moving the lever slightly, if necessary, to align the holes.
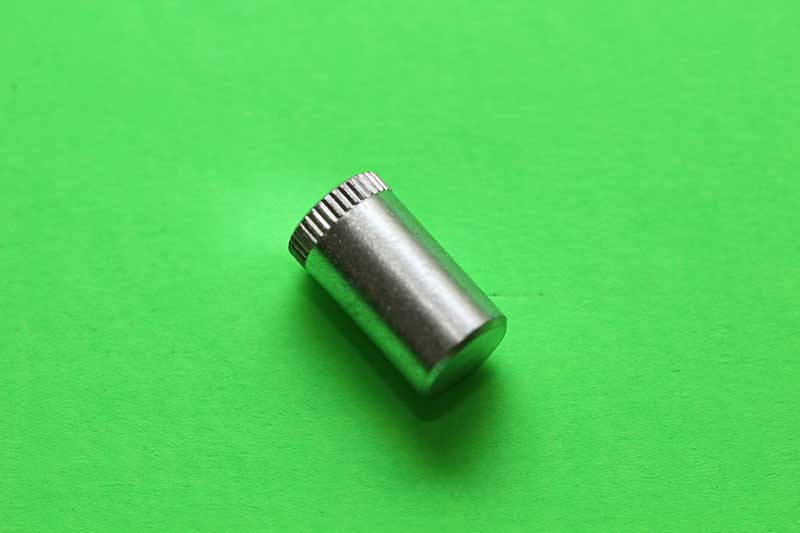
Lever pivot.
Tapping the pivot in.
Tapping the pivot in.

Tapping the pivot in.
The lever projects through the head into the frame post.
Crank
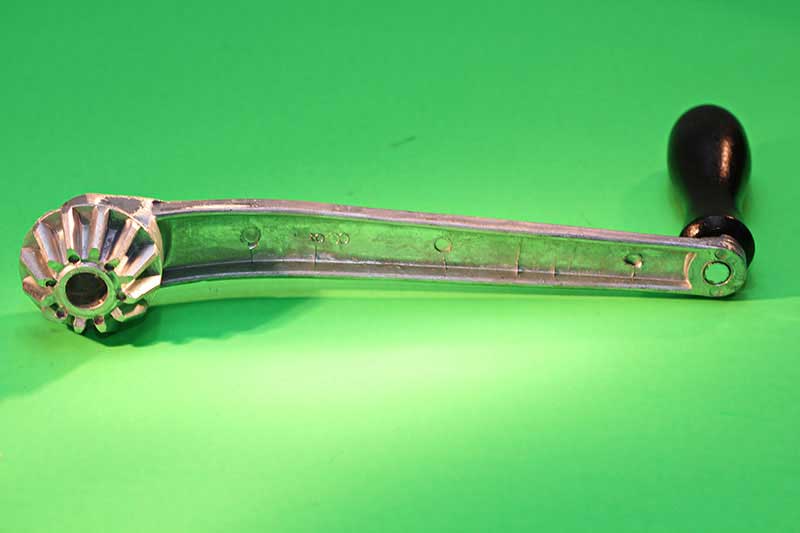
Manual crank.
Screw.
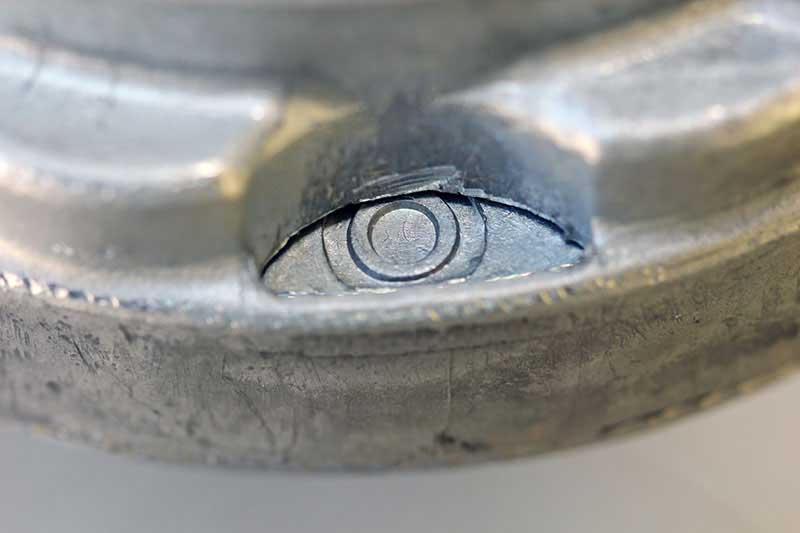
Indicator window.
To attach the crank, turn the chuck by hand until the "0" appears in the center of the window.
Tighten the screw.
Insert the gear end of the crank into the housing so that it hangs down and a few inches forward. While holding the crank in this position, insert the crank screw and finger tighten. Turn the crank handle until the "0" appears in the center of the indicating window. Loosen the crank screw and readjust the crank handle so it hangs down. Tighten the crank screw with a quarter coin.
Chuck Installation
3-hole nut.
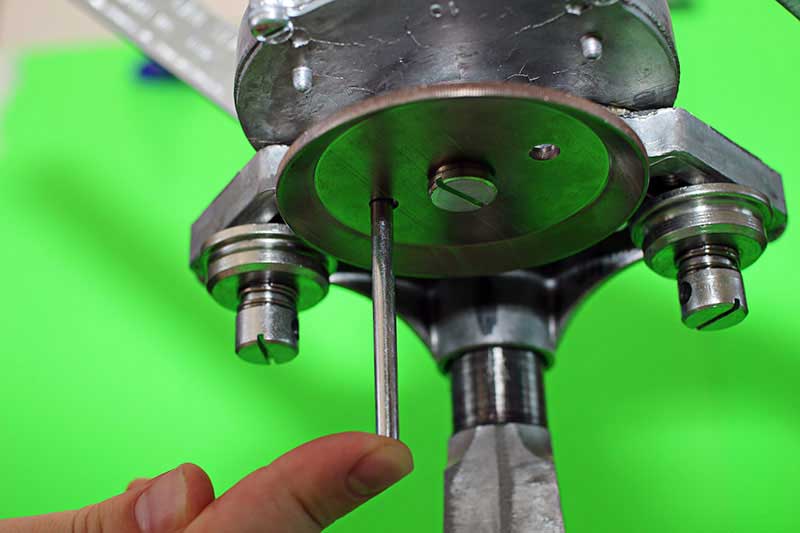
The chuck is secured to the head with a screw. Rotate the crank until the "0" appears in the indicating window. Insert screw in the center hole of the chuck, from the hollow side and screw into place by hand. Make sure the thumbscrew and 3-hole square nut are backed off, otherwise the chuck might hang up on rollers.
The 3-hole square nut will be adjusted in the step that follows. Put the 3-inch pin through one of the holes and urge the crank clockwise until tight. Turn the crank clockwise until the 3-inch pin is pressed against the frame.

Chuck for sealing 301 cans.
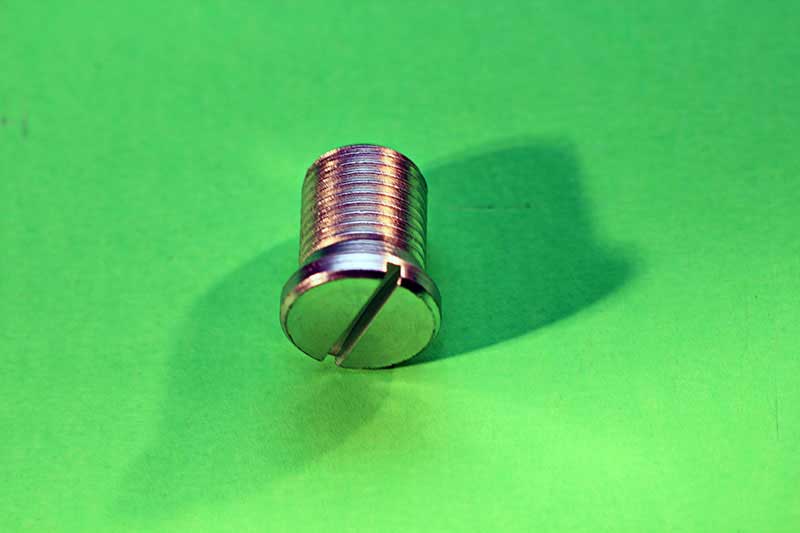
Chuck screw.
Installing chuck.
Installed chuck.
Chuck Removal
Each size can requires a corresponding size chuck. Use the same instructions for removing the chuck except turn the crank counterclockwise. Place the pin through one of the two holes in the chuck, to keep it from turning, and urge the crank counterclockwise until chuck is loose. Then turn the crank until the "0" is in the window and unscrew the chuck by hand. After unscrewing, hold chuck in hand and strike the threaded end of the chuck screw with the flat side of the hammer. This will pop out the screw out of the chuck.
Before using the sealer, oil all points.
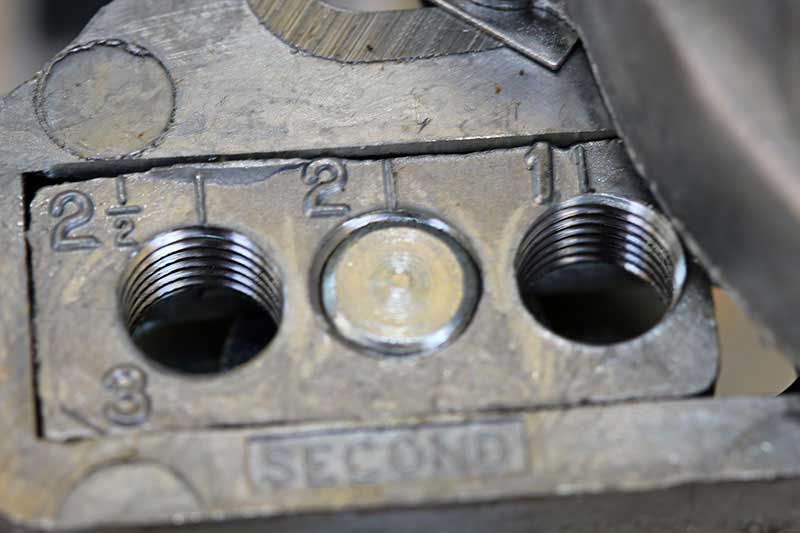
Adjusting for Various Can Sizes
Operation
Before sealing, turn crank, if necessary, so that the "0" is in the center of the window.
Indicator window, ready for sealing.
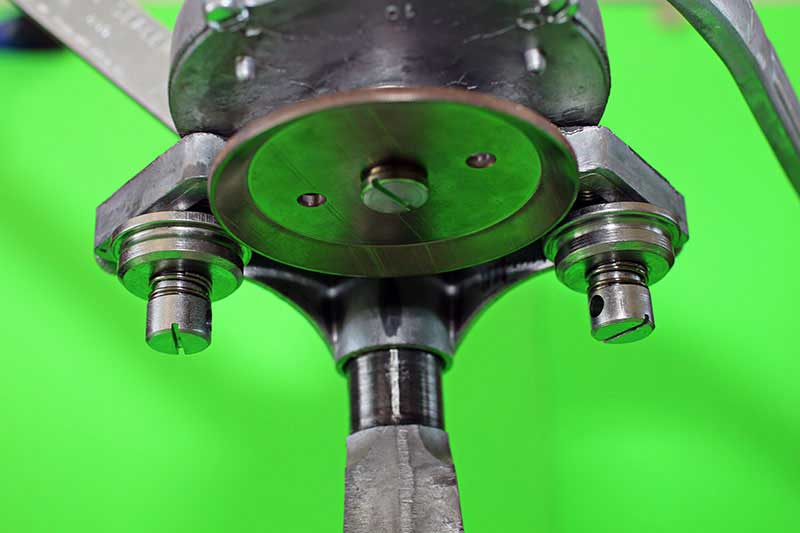
When the can is ready for sealing. hold it in your right hand and center a cover on top of the can. Raise the lever with the left hand and center the can on the turntable. Lower lever slowly and move can sideways, if necessary, to center chuck on the cover. Press lever down to locked position, be prepared to apply some force. Turn crank clockwise and note first and second operations taking place automatically as "1" and "2" appear in the window respectively.
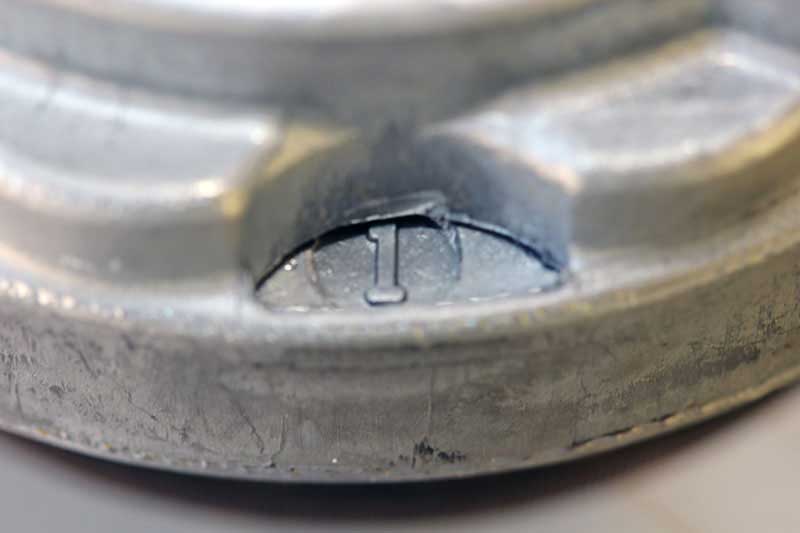
Indicator window, 1st roller operation.
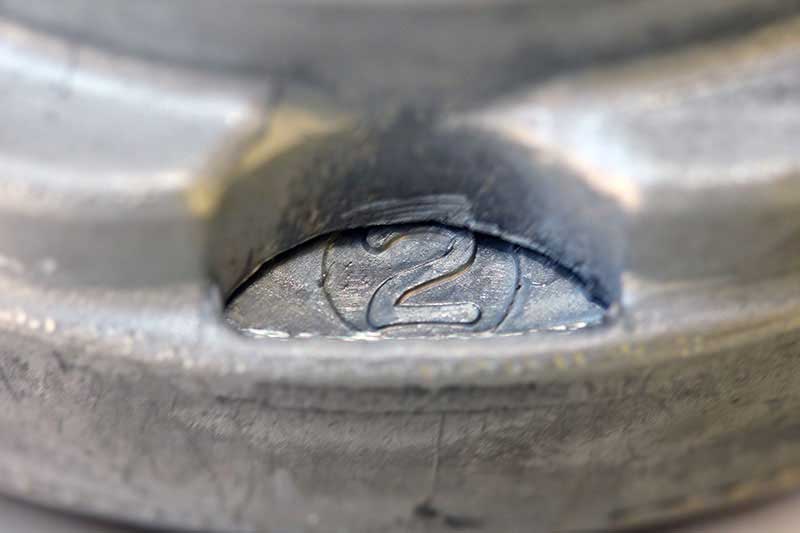
Indicator window, 2nd roller operation.
The crank should turn rather hard toward the end of each operation so that the seam will be rolled "tight." Continue turning until "0" reappears in window. The can is then tightly sealed. Lift lever to remove sealed can. The rollers may loosen on account of newness. On new sealers be sure to check both rollers and adjust, if necessary, during sealing of first two dozen cans.
- Ives-Way Products, Inc.
- PO Box 70
- Round Lake Beach, Illinois 60073
- Phone: (847) 740-0658